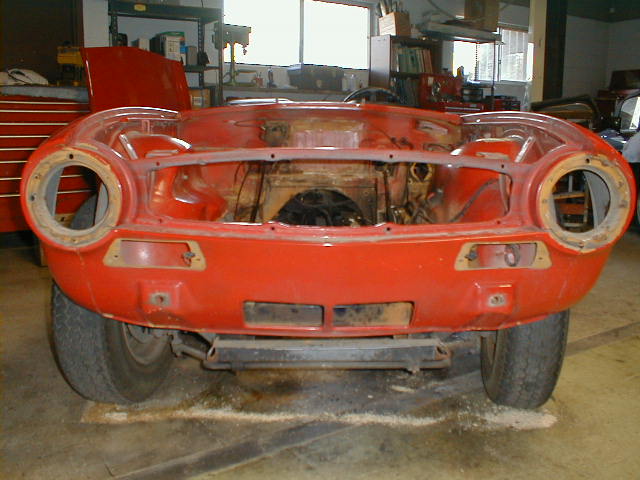
The following pages detail the restoration of our client's '72 TR6. The engine has been pulled for rebuilding and we have started the de-trimming process. I will add pages as work progresses and I find time to load the photos. Enjoy!
These seats will be going back to the stock material after we
check the structure for soundness.
As you can see above this car was originally no. 54 "Saffron
Yellow". I believe we are keeping it red but that is up to the client.
Above we see damage caused when a door brake fails.
The undercarriage is actually quiet sound. Here we see just
a bit of surface rust.
Above we see why the front halves of British car frames usually
don't rust....they are liberally coated in oil.
This is what happens when a tow truck driver is a bit too strong
tightening the tie-down hooks. This is quite minor.
Again, this tow hole has been ripped open. I have seen uni-body Mercedes opened up like a can-opener underneath. This is cosmetic
only and we are not planning to address it.
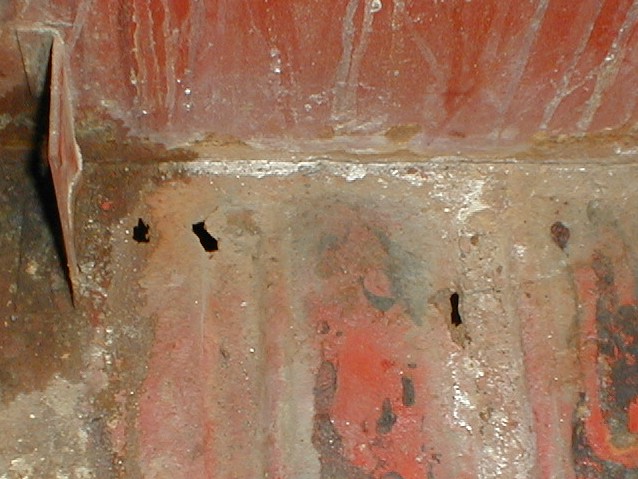
A few perforations in the battery box area.

A close-up of the pervious area. We will weld new metal in
here and then install a plastic battery tray so this doesn't happen again.
In prepping the trunk for new paint we found that the factory
seam sealer had lost its adhesion and needed to be removed entirely in order to
do a proper job.
During the manufacturing process sheet steel panels are spot
welded together. This is all fine but since spot welds are used rather
than welding a solid bead there are tiny gaps between the two panels that could
let in water. This is were the seam sealer comes in. Think of it
like caulking on a window sill. It fills the gaps and keeps moisture out.
The round plate that you see above covers a
hole where presumably a jig passed through to hold the body during manufacture.
It is riveted in place and was liberally covered in seam sealer. You can
see the outline of red primer around the plate where the old seam sealer was
removed. After this cleaning process we will install new seam sealer.